Saturday, 27 February 2016

「不要養成 綿羊式聽話的乖孩子!」 德國專家:會頂嘴的小孩,有這 7項優點!

大家總覺得小孩子
見識少、閱歷淺、不成熟...
又是自己生養的,
於是認為:
「大人說話,小孩子不可以頂嘴」

絕不允許小孩與父母爭辯,
否則就是「違背父母」、「大逆不道」。

其實...
父母與孩子 頂嘴是件有益的事,
還有以下 7項優點,
往下看看!


孩子頂嘴,並不是壞事!
會和爸媽頂嘴的小孩,
以後會比較有自信、創造力和合群。

德國心理學家 安格利卡·法斯博士證實:
「頂嘴,對於下一代來說,
是走上成人之路的重要一步。」


1. 有助孩子 找到界限

會和爸媽頂嘴,
能讓孩子有機會學會自我評估。
讓他們知道:自己的能力和界限!

2. 形成 自己的想法

孩子在與父母 頂嘴爭辯後發現,
父母並非總是正確的。
討論的勝利,
能讓孩子獲得「成就感」,
進而形成 自己的想法。


3. 學會 應付衝突

頂嘴,有學習的效果。
孩子學到「討論的藝術」。
日後,在學校、社會、工作中,
和同伴、同學、同事的關係中
總是會發生爭執,
也代表,這種學習 對小孩是重要的!

4. 愛、在乎的表示

爭執,是向對方表示,你對我是重要的。
一個人如果總是與世無「爭」,
他就是向周圍的人表示,
你們對我無所謂。

但是!
如果孩子長期和爸媽頂嘴,
而且還對爸媽毫無禮貌,
這個時候,請爸媽們不要隨便原諒
孩子的這種無理行為。

對待無理的頂嘴,爸媽該及時反擊,

讓孩子明白 其中的過錯。


5. 有助孩子 提升自信

孩子們在頂嘴的時候,
反駁的是正確的思想,
那麼說明孩子們善於思考。

思考,有利於孩子們的智慧。
所以爸媽們在孩子頂嘴時,
首先,不要亂朝孩子發火。
記住孩子們的頂嘴,
可能讓孩子們智慧更進一步。

6. 刺激智力

孩子和父母頂嘴的直接原因,
是他們語言能力的進步、意識的覺醒。

頂嘴時,
孩子必須使用 語匯和表達方式,
他們得 表達自己的欲望、觀點,
這將刺激孩子語言能力的發展。
通過頂嘴,
孩子也可以學到討論、辯論的邏輯技巧。


7. 有助 語言表達

爸媽們也可能發生「錯誤」!
所以,孩子們有不同的想法,
不要一昧斥責孩子,
而應該讓孩子們把話說完。

善於頂嘴的孩子,
一般來說是「有自己的想法」,
而且還會「善於表達自己」。
所以當孩子反駁,不要去責罵孩子,
而要認真的思考孩子的想法。


不要只把 孩子的頂嘴,看作是對 長輩的不敬!

明智的父母
通常不把自己的意志強加在孩子身上。
而是在頂嘴時,
循循善誘,以理服人。


孩子頂嘴 沒關係,

別養成 綿羊式的聽話孩子。 

Wednesday, 21 October 2015

Almond Butter Cookies


Ingredients
2 tbsp cornflour
210g plain flour (I used self raising flour)
250g butter
100g icing sugar - sieved
1 tsp vanilla extract
100g almond powder
Some chocolate chips


Method
1. Preheat oven at 160C. Lined baking tray.


2. Sieve cornflour & plain flour together. Set aside.


3. Beat icing sugar, vanilla and butter till light and fluffy. Add in both flours and continue beating until well combined. Then add in ground almond and mix until well combined.


4. Tranfer to piping bag and pipe out desired shapes. Place a piece of chocolate chips in the center.


5. Send to bake for 12-15min till golden brown.

Saturday, 3 October 2015

Hokkaido Cupcakes with Cream Cheese Frosting


Ingredients
6 egg whites
6 egg yolks
100g caster sugar (40g for whites and 60g for yolks)
**you may reduce the sugar portion according to your sweetness level
1 tsp cream of tartar 
70g corn oil
120ml milk (room temp)
140g self raising flour
Filling
200ml thickened cream / whipping cream
Icing sugar  

Frosting - Cream Cheese
 
**Made about 35 cupcakes with medium size cupcake mould

Method:
1. Using an electric hand mixer, beat whites with high speed. Gradually add in sugar and cream of tartar, continue to beat till stiff peak. Set aside.

2. Beat yolks and sugar till pale yellow. Add in oil, milk and mixed well. Sift in flour and combined well with a spatula. 
**Can add in drops of vanilla essence or any flavor as wish

3. Fold in whites into yolks batter, gently using a spatula and combined well.

4. Divide batter evenly into cupcake mould and bake at 170C for 20-25mins till golden brown or skewer comes out clean.
**Temperature may differ for different oven. Try not to open the oven door as it may cause the cake to sink.

5. Let oven door slightly ajar and allow the cupcakes to cool down about 5mins before taking out from the oven. 

6. Beat cream with high speed. Add icing sugar according to your level of sweetness and continue beating till stiff peak. Make a tiny hole n the cupcake and pipe the cream into it. Decorate as per desired. Chill before consumption.

Thursday, 17 September 2015

Oreo Chiffon Cake


Ingredients
6 egg whites
60g caster sugar
1 tsp cream of tartar
80g cake flour
1 tsp baking powder
14 pcs oreo biscuits (removed cream, lightly crushed into small pieces)
6 egg yolks
30g caster sugar
50g extra light olive oil/canola oil
80ml milk
 
Method
1. Preheat oven to 160C.
 
2. Use a large clean mixing bowl, without any trace of oil or water, beat the egg whites with an electric mixer until bubbles form. Add the cream of tartar. After mixing well, add the 60 grams of sugar in three batches, about one-third at a time, and beat well between additions. Continue to beat until stiff peaks form. (I just poured in the sugar and cream of tartar together)
 
3. Sift the cake flour and baking powder, mix well.
 
4. Whisk the egg yolks with the 30 grams of caster sugar, until the sugar completely dissolves. Stir in the oil, bit by bit, until completely combined. Add the milk and stir well.
5. Sift the flour mixture into the egg yolk mixture, in three batches. Combine well.
 
6. Fold-in the beaten egg whites with a spatula and gently combined well. Add in oreo biscuits crumbs.
 
7. Pour the batter into the cake pan and bake in the preheated oven for about 35 to 40 minutes. After baking the first 15 minutes, if you find the cake surface gets browning, reduce heat to 150C. Continue to bake until cooked through. A needle comes out clean when inserted in the middle.
 
8. Remove the cake from the oven. Invert the pan immediately on a wire rack. Let it cool completely.
 

Friday, 4 September 2015

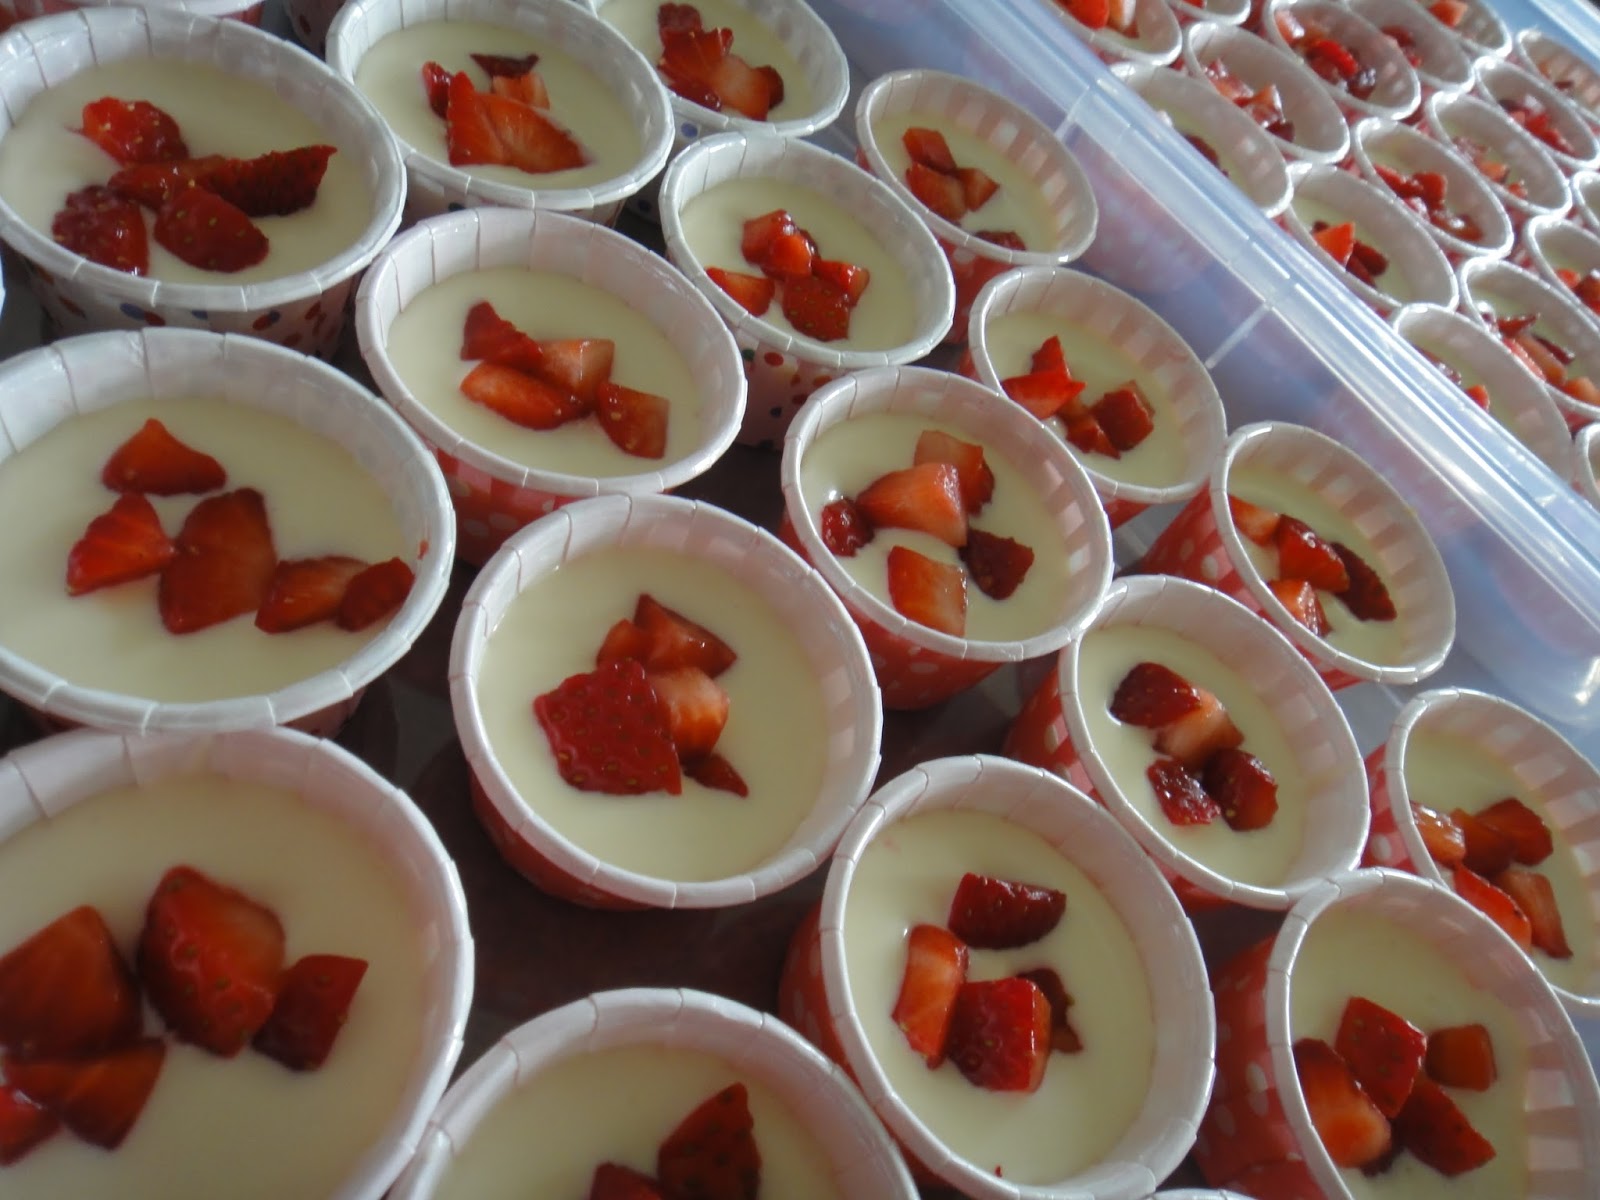
Mini No-Baked Cheese Cake


Recipe:-
The base
200g McVities Digestive Biscuits (8-9pcs)
80g Unsalted butter
50g Icing sugar

1. Crush all the biscuits till it become almost like sand texture (crumbs) and mix it with the icing sugar.
2. Melt the butter. Pour the butter into a mixing bowl together with biscuits crumbs. Mix it well. (add more butter if the mixtures are too dry)
3. Compress it evenly on the base of the cupcake mould. Put in the fridge for at least 1hour or till it is hardened.
4. Make some small holes all over the base using a fork (this is to ensure the cheese sticks to the base).

The Cheese content
500g cream cheese (I used Philadelphia brand) 
1 cup of fresh yogurt (your desired flavor)
150g (or 1/3 of a small tin) of sweetened condensed milk
8 teaspoon of gelatin powder, with 200ml water

**using a small size cupcake mould (5cm diameter), made about 50 mini cheesecakes

Methods
1. Let the cheese cool down to room temperature. 

2. Pour the water into a small pot and heat up under low heat. Then, pour the gelatin powder into the pot and stir it thoroughly until melted. The end product is a very thick and sticky gelatin mixture. Set aside for use. 
***if you are using only 50% of the ingredients, then put 4 tsp of gelatin powder with 100ml water***

 
3. Using an electric hand mixer, blend the cheese well to make it soft.


4. Next pour in the sweetened condensed milk and mix it well. Then pour the yoghurt in as well. Blend it well and thoroughly.

5. Quickly pour this gelatin mixture into the earlier cheese content and then mix it well.

6. Finally, pour the final cheese content into the earlier prepared cupcake mould. Decorate as desired.

7. The cheese cake should remain in the fridge for at least 2 hours (or overnight) before consuming. Enjoy!